How to Make the Perfect Unicorn Cake: Step-by-Step Guide
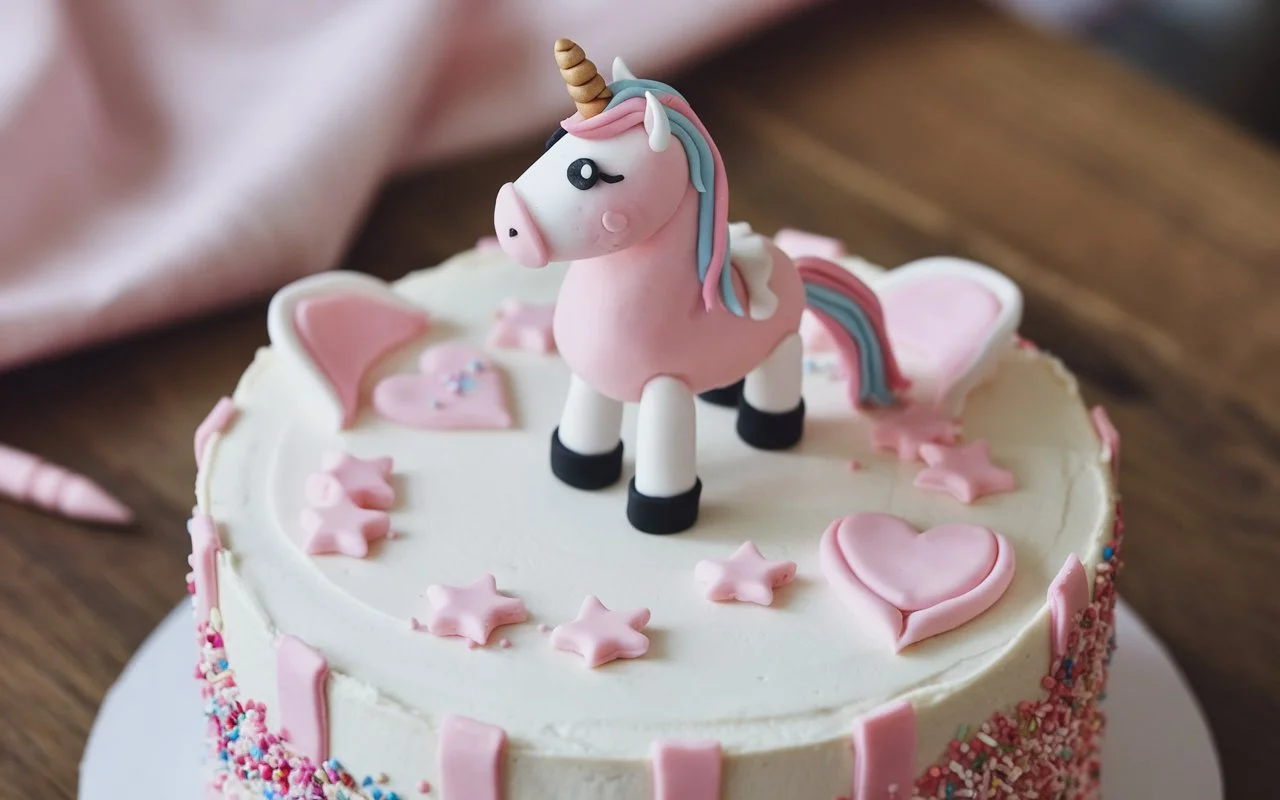
Creating a unicorn on a cake is an enchanting way to bring a touch of magic to any celebration. These whimsical cakes, adorned with vibrant colors, gold horns, and intricate designs, have captured the hearts of bakers and party enthusiasts worldwide. In this guide, you’ll learn everything from gathering the right tools and ingredients to crafting dazzling decorations that bring the mythical unicorn to life. Let’s dive in!
Essential Tools and Ingredients for a Unicorn Cake
Before diving into the baking process, it’s crucial to prepare all the tools and ingredients you’ll need. A well-organized workspace not only makes the process smoother but also ensures that your cake turns out as magical as you envisioned.
Baking Tools You’ll Need
- Cake Pans:
Use three 6-inch or 8-inch round cake pans to create a layered cake. These pans ensure even baking and provide enough space for tall, dramatic designs. - Mixing Bowls and Utensils:
Large mixing bowls, rubber spatulas, and whisks are essential for combining ingredients seamlessly. A stand mixer or hand mixer will save time and effort when whipping up batter or frosting. - Piping Bags and Tips:
You’ll need piping bags with star tips (like #824 and #4B) to create the mane’s rosettes and swirls. A round tip works perfectly for finer details like the eyes. - Offset Spatula:
This handy tool is ideal for spreading and smoothing frosting on the cake’s surface. - Turntable:
A rotating cake turntable allows you to frost and decorate the cake evenly, which is especially helpful for creating intricate designs.
Key Ingredients for a Magical Cake
- Cake Batter:
Opt for a classic vanilla or funfetti batter, which highlights colorful sprinkles inside each slice, adding to the playful theme. - Buttercream Frosting:
Smooth, creamy buttercream is a must for creating a flawless base and vibrant piping. Homemade frosting made from butter, powdered sugar, and vanilla extract is ideal. - Fondant:
White fondant is perfect for shaping the unicorn’s horn and ears. You can also use edible gold dust to give the horn a magical sheen. - Food Coloring:
Gel-based food coloring works best for creating vivid pastel hues for the mane. Choose colors like pink, purple, turquoise, and yellow to match the unicorn theme. - Decorative Add-ons:
Have edible glitter, sprinkles, and small candies on hand to add those final touches of sparkle.
Why Preparation is Key
Gathering everything ahead of time prevents the hassle of searching for tools or missing ingredients mid-way through the process. With your essentials ready, you’re set to bake a cake that’s truly magical.
Essential Tools and Ingredients for Crafting a Unicorn Cake
To achieve a professional-quality unicorn on a cake, having the right tools and ingredients at your fingertips is essential. Let’s explore everything you need to bring this enchanting creation to life.
Baking Tools
- Cake Pans:
For a layered unicorn cake, three 6-inch or 8-inch round cake pans are ideal. These pans provide the perfect shape and size for stacking and decorating, ensuring a sturdy base for your magical design. - Mixing Bowls and Utensils:
Large mixing bowls are perfect for combining ingredients without spills. Use sturdy spatulas for scraping every bit of batter or frosting, and whisks to achieve the right texture in your mixes. A stand mixer or hand mixer is invaluable for evenly blending ingredients, especially when preparing smooth buttercream. - Piping Bags and Tips:
Piping bags fitted with decorative tips are non-negotiable for crafting the unicorn’s iconic mane. Use star tips such as #824 and #4B for swirls and rosettes, and a round tip for precision work, like creating the unicorn’s eyes. - Offset Spatula:
An offset spatula is essential for spreading frosting smoothly over the cake. This tool helps create clean edges and a flawless finish. - Turntable:
A rotating turntable makes frosting and decorating your cake a breeze, offering better control and ease of access to all sides. - Additional Tools:
Consider a fondant roller for shaping the unicorn’s horn and ears and a small paintbrush to dust edible gold powder onto fondant elements for that extra sparkle.
Key Ingredients for a Magical Unicorn Cake
- Cake Batter:
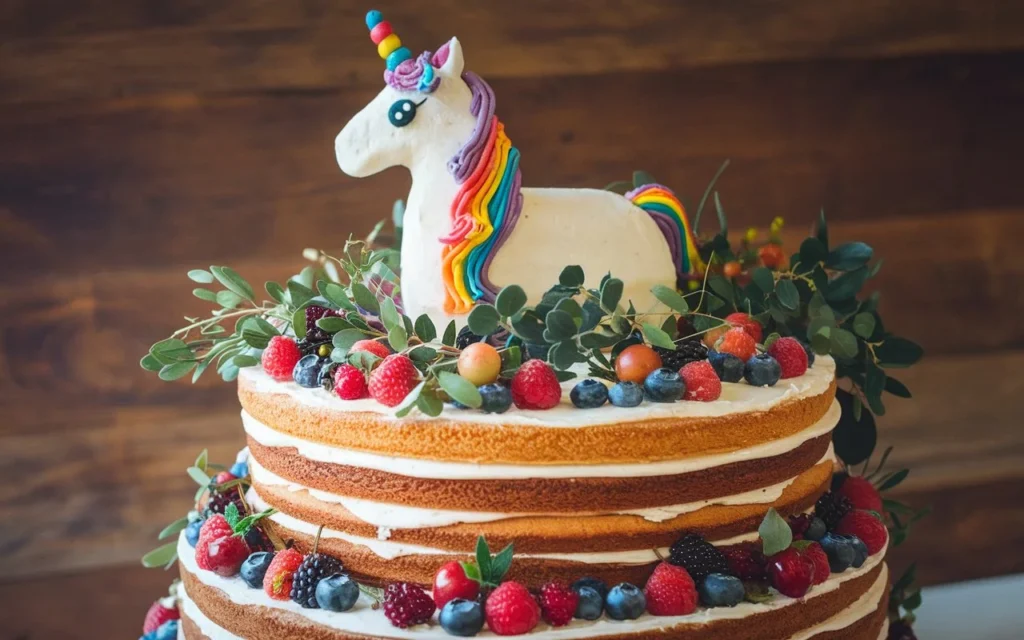
Start with a funfetti cake batter for a colorful and festive interior. This batter, flecked with rainbow sprinkles, adds a playful surprise to every slice. Opt for a simple vanilla base, as it pairs well with buttercream and highlights the sprinkles beautifully. - Buttercream Frosting:
Creamy and versatile, buttercream frosting is perfect for both the cake’s base coat and intricate piping details. Make your own by whipping butter, powdered sugar, vanilla extract, and a splash of milk for the right consistency. - Fondant:
White fondant is your best friend for creating the unicorn’s horn and ears. It’s pliable and easy to shape. For a magical touch, dust the finished horn with edible gold powder to mimic shimmering gold. - Food Coloring:
Gel-based food coloring is essential for creating vivid hues without altering the frosting’s consistency. Popular choices for unicorn cakes include pastel shades of pink, blue, purple, and yellow. - Decorative Add-ons:
Enhance the cake’s magic with edible glitter, colorful sprinkles, or pearlized candies. These extras take your design from pretty to jaw-dropping.
Why These Tools and Ingredients Are Crucial
With the proper equipment and ingredients, you’ll not only save time but also ensure a stress-free baking experience. Plus, using high-quality tools and materials guarantees a stunning, professional-looking cake that wows your guests.
Next, we’ll tackle how to prepare and bake the cake layers for your unicorn on a cake. Keep reading for pro tips and tricks!
Step-by-Step Guide to Baking the Perfect Unicorn Cake
Now that you’ve gathered all your tools and ingredients, it’s time to bring your unicorn on a cake vision to life. This section walks you through baking the cake layers and assembling them for a flawless finish.
Preparing the Cake Layers
- Mixing the Batter:
Start by sifting together all-purpose flour, baking powder, and salt in a medium-sized bowl. In a separate, larger bowl, cream softened butter and granulated sugar until light and fluffy—this creates the perfect airy texture for your cake. Add egg whites gradually, beating well after each addition. Stir in vanilla extract and almond extract for a subtle flavor boost.Alternate adding the dry ingredients and whole milk to the butter mixture, beginning and ending with the dry ingredients. Be gentle to avoid overmixing, as this can make the cake dense. Finally, fold in colorful rainbow sprinkles for that signature funfetti effect. - Baking:
Preheat your oven to 350°F (175°C) and grease three 6-inch round cake pans. Line the bottoms with parchment paper for easy removal. Divide the batter evenly among the pans, ensuring consistent layer thickness. Bake for 30–35 minutes or until a toothpick inserted into the center comes out clean. - Cooling:
Once baked, let the cakes rest in their pans for about 10 minutes. Then, carefully remove them and transfer them to a wire rack. Allow them to cool completely before moving to the next step—warm cakes can cause the frosting to melt and slide.
Assembling the Cake
- Leveling:
Use a serrated knife or a cake leveler to trim the tops of the cake layers, ensuring they are flat and even. This step is essential for creating a stable, professional-looking stack. - Stacking:
Place one layer of cake on a cake board or a serving stand. Spread an even layer of buttercream frosting on top using an offset spatula. Add the second layer, repeating the process, and finish with the third layer on top. Gently press down each layer to remove air gaps and keep the cake steady. - Crumb Coating:
Apply a thin layer of frosting over the entire cake to seal in loose crumbs. This initial layer, known as a crumb coat, helps achieve a smooth final finish. Once the crumb coat is applied, refrigerate the cake for about 30 minutes to let it set firmly. - Final Frosting:
After chilling, apply a thicker layer of buttercream over the entire cake. Smooth the frosting with an offset spatula or a bench scraper. Rotate the cake on a turntable as you work to ensure an even coating. This is where your cake begins to transform into a blank canvas for the magical unicorn design.
Tips for Baking Success
- Ensure all your ingredients are at room temperature for smooth mixing and even baking.
- Don’t overmix the batter—it’s okay if it’s slightly lumpy before you add the sprinkles.
- Use a digital scale to divide the batter equally among the pans for uniform layers.
- Be patient while cooling the cake; rushing this step can ruin your frosting application.
Your cake is now prepped and ready for decorating! In the next part, we’ll dive into crafting the unicorn’s features, including the horn, ears, and colorful mane, turning this simple cake into a magical masterpiece. Stay tuned!
Decorating Your Unicorn Cake
With the cake layers stacked and frosted, it’s time to bring your unicorn on a cake to life! This step is where creativity takes center stage, as you’ll craft the iconic features and dazzling mane that make this cake truly magical.
Creating the Unicorn’s Features
- Horn and Ears:
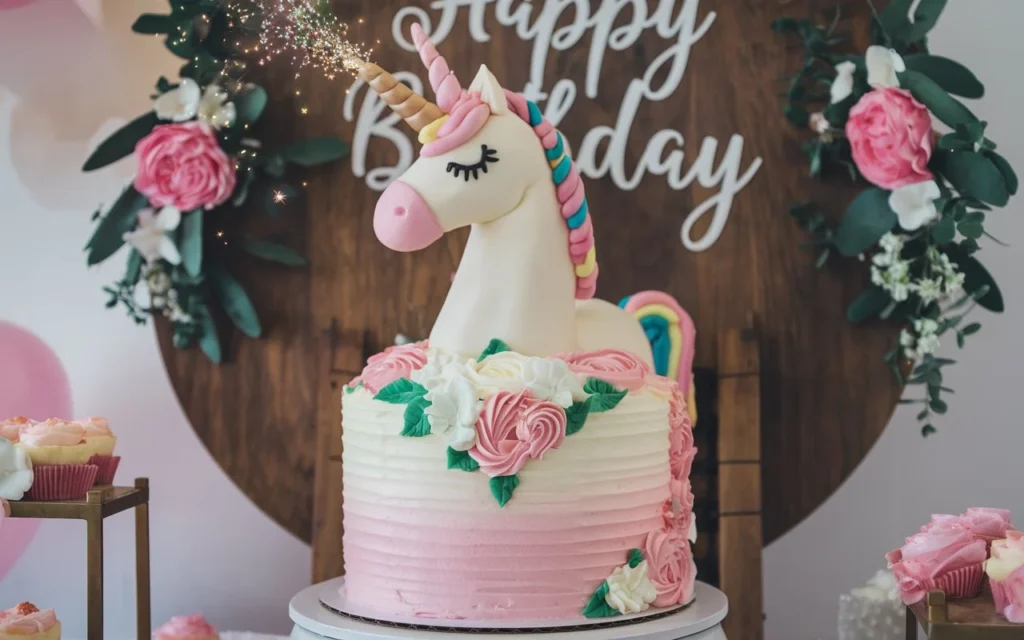
Begin by shaping white fondant into a long cone to form the unicorn’s horn. Twist the cone gently to create a spiral effect. Dust the horn with edible gold dust using a small brush for a shimmering, regal finish.For the ears, mold two teardrop-shaped pieces of white fondant. Gently pinch the bottoms to give them a curved, natural look. To add detail, you can color a smaller piece of fondant with pink gel-based food coloring and press it into the center of each ear. Set these pieces aside to firm up before assembling. - Eyes:
Using black buttercream frosting and a small round piping tip, pipe two closed eyes onto the front of the cake. For added charm, include a few long lashes extending outward from each eye. Ensure they’re symmetrical for a balanced, polished appearance.
Designing the Mane
- Coloring the Frosting:
Divide your prepared buttercream frosting into several small bowls. Add gel-based food coloring to each bowl to create a vibrant palette of pastel hues, such as pink, purple, turquoise, and yellow. Mix thoroughly to achieve even coloring, and ensure the shades complement one another. - Piping the Mane:
Fill piping bags fitted with various star tips, such as #824, #4B, and #2A, with your colored frostings. Begin piping rosettes, swirls, and stars along the top of the cake, extending down one side to mimic a flowing mane. Alternate colors as you go to achieve a multi-dimensional, rainbow-like effect.Pro Tip: Start with larger rosettes as the focal points, then fill in the gaps with smaller stars and swirls for a fuller look. Add extra flair by incorporating edible pearls or metallic sprinkles into the design.
Final Touches
- Assembling the Features:
Carefully insert the fondant horn into the center top of the cake, ensuring it’s secure and upright. Position the ears on either side of the horn, angling them slightly outward for a natural look. - Adding Details:
Sprinkle edible glitter lightly over the mane to make it sparkle. For an extra magical touch, scatter a few small candies or stars around the base of the cake. These details not only enhance the cake’s appearance but also tie the entire theme together beautifully.
Pro Tips for a Flawless Finish
- Keep a damp paper towel handy to clean your piping tips between colors for a sharp and precise design.
- Practice piping rosettes and stars on parchment paper before applying them to the cake to ensure confidence and consistency.
- If your fondant pieces feel too soft to handle, refrigerate them briefly to firm them up before assembly.
With your unicorn cake fully decorated, it’s ready to dazzle at any celebration! This magical centerpiece is sure to leave everyone in awe.
Frequently Asked Questions (FAQs) about Unicorn Cakes
1. What flavors work best for a unicorn cake?
Vanilla or funfetti are top choices due to their light color and ability to showcase rainbow sprinkles. However, chocolate, lemon, or strawberry can be just as delightful if you’re looking to mix things up.
2. Can I use store-bought fondant and buttercream?
Absolutely! Store-bought fondant and buttercream save time and effort. Just ensure the fondant is pliable and easy to work with, and the buttercream has a smooth consistency suitable for piping.
3. How far in advance can I make a unicorn cake?
You can bake the cake layers up to two days in advance. Wrap the cooled layers tightly in plastic wrap to preserve freshness. Assemble and decorate the cake on the day of the event for the best presentation and taste.
4. What if I don’t have specific piping tips?
No worries! If you don’t have specific piping tips, you can improvise by cutting the tip of a piping bag into a star or round shape. Alternatively, use a plastic zip-top bag with a small corner snipped off to pipe your designs.
Conclusion
Congratulations, your unicorn cake is complete! Let it shine as the centerpiece of your celebration and enjoy the smiles it brings.
Crafting a unicorn on a cake is more than just baking—it’s a creative adventure that brings joy and magic to any occasion. From carefully preparing the layers to decorating with vibrant colors and whimsical features, every step is an opportunity to express your imagination and love for detail.
This enchanting dessert is sure to be the star of the celebration, delighting kids and adults alike with its irresistible charm. Whether you’re making it for a birthday, a special event, or just because, your unicorn cake will leave a lasting impression. So, gather your tools, unleash your creativity, and let the magic begin!
Happy baking, and may your unicorn cake bring smiles and sweetness to all who see it! 🦄✨

