Introduction
Baking bread at home has become a popular trend, and using a Dutch oven makes it even more rewarding. Why? Because it creates bakery-style bread with a crusty, golden exterior and soft, airy interior—without complicated equipment. Whether you’re a seasoned baker or just starting, dutch oven bread recipes offer a simple yet satisfying way to make delicious homemade bread.
This guide will walk you through everything you need to know, from the tools and ingredients to the baking process and popular variations. By the end, you’ll be able to whip up artisan loaves with ease. Now, let’s dive into the essentials!
Introduction to Dutch Oven Bread Recipes
What is a Dutch Oven?
A Dutch oven is a thick-walled, heavy pot with a tight-fitting lid, often made from cast iron. It’s designed to retain heat and distribute it evenly, making it perfect for slow cooking, stews, and most notably—baking bread.
This versatile cookware has been around for centuries. Traditionally made of cast iron, modern versions often feature an enamel coating for easier maintenance. Its heat retention and ability to trap steam make it ideal for creating a crispy, artisan-style bread crust right in your home oven.
Benefits of Baking Bread in a Dutch Oven
Using a Dutch oven for bread making has several advantages that set it apart from other baking methods:
- Superior Heat Retention: Cast iron holds heat exceptionally well, creating a consistent temperature inside the pot.
- Perfect Steam Environment: The lid traps moisture released from the dough, mimicking professional steam ovens.
- Even Cooking: Heat circulates uniformly, preventing undercooked spots or burnt edges.
- No Fancy Equipment Needed: Unlike professional steam injectors, a Dutch oven achieves bakery results with minimal tools.
These benefits work together to create crusty bread with a soft crumb, perfect for sandwiches or enjoying with soups and spreads.
Why Use a Dutch Oven for Bread?
Ever wondered why dutch oven bread recipes have become so popular? The answer lies in the way it transforms basic ingredients into artisan-quality bread with minimal effort. When the dough bakes in a sealed pot, the steam softens the crust, allowing the bread to expand fully before the crust hardens. This results in a beautifully risen loaf with a crisp, golden crust and a tender, airy crumb.
A Dutch oven is also highly versatile. Whether you prefer no-knead bread, whole wheat bread, or even sourdough bread, it can handle them all with ease.
Types of Dutch Ovens for Bread Baking
When choosing a Dutch oven for bread, consider these options:
- Cast Iron Dutch Oven: Traditional, durable, retains heat well.
- Enameled Cast Iron: Easier to clean, rust-resistant, ideal for beginners.
- Double Dutch Oven: Lid doubles as a skillet, providing extra versatility.
The size also matters! For most dutch oven bread recipes, a 5 to 7-quart pot works perfectly, allowing the bread enough space to rise without overflowing.
In the next section, we’ll dive into the essential tools and ingredients you need to make perfect Dutch oven bread. Stay tuned!
Essential Tools and Ingredients

Perfecting dutch oven bread recipes requires not just quality ingredients but also the right tools. Having everything prepped and measured ensures a smooth, stress-free baking experience. Let’s break down the essentials.
Necessary Equipment
Equipping your kitchen with the right tools can make all the difference in your bread-making success.
Dutch Oven Specifications
The Dutch oven is the heart of this process, so choosing the right one matters. Here’s what to consider:
- Material: Cast iron retains heat best, while enameled versions simplify cleaning.
- Size: A 5 to 7-quart capacity works perfectly for most artisan bread loaves.
- Shape: Round Dutch ovens suit standard loaves, while oval ovens work better for batards.
- Lid Fit: A tight seal is crucial for trapping steam during baking.
Mixing Bowls and Utensils
- Large Mixing Bowl: To comfortably hold the dough as it rises.
- Bench Scraper: Ideal for handling sticky dough.
- Dough Whisk or Wooden Spoon: Helps with initial mixing without overworking the dough.
Measuring Tools
Accuracy matters! Proper measuring ensures a consistent bread texture.
- Digital Kitchen Scale: For precise measurements, especially with flour.
- Measuring Cups and Spoons: Essential for ingredients like salt and water.
Having these tools prepared streamlines the bread-making process and minimizes mistakes.
Key Ingredients
The beauty of dutch oven bread recipes lies in their simplicity. With just a few core ingredients, you can create bakery-quality loaves.
Flour Varieties
Flour is the foundation of bread. Choosing the right type affects the structure, texture, and flavor.
- All-Purpose Flour: Great for standard no-knead bread recipes.
- Bread Flour: Higher protein content results in a chewier crumb with better gluten development.
- Whole Wheat Flour: Adds a nutty, hearty flavor but requires adjustments in hydration.
Yeast Types
Yeast is what makes the bread rise. Understanding the differences helps you pick the right one:
- Active Dry Yeast: Needs to be dissolved in warm water before mixing.
- Instant Yeast: Can be mixed directly into dry ingredients, ideal for quick bread recipes.
Both options work well, but instant yeast often simplifies the process for beginners.
Water Quality and Temperature
Water activates the yeast and hydrates the flour. However, the quality matters:
- Filtered Water: Reduces impurities that may affect yeast activity.
- Temperature: Aim for lukewarm water (around 100°F or 37°C) to properly activate the yeast without killing it.
Salt and Its Role in Bread Making
Salt does more than just flavor the bread. It regulates yeast activity and strengthens the gluten network, improving the bread’s texture and shelf life. Use fine sea salt or kosher salt for even distribution.
With the right tools and ingredients in hand, you’re ready to move on to the step-by-step process of making Dutch oven bread. Up next, we’ll explore how to prepare, proof, and bake your bread to perfection!
Step-by-Step Guide to Baking Dutch Oven Bread

Baking Dutch oven bread recipes is a straightforward process, but every step matters. From mixing to baking, each stage affects the texture, flavor, and appearance of your loaf. Let’s break it down step by step for perfect results every time.
Preparing the Dough
A successful loaf starts with properly prepared dough. This phase is where the gluten structure and fermentation begin to develop.
Measuring and Mixing Ingredients
Precision is key in bread making. Using a digital scale ensures accuracy, especially with flour, which can become compacted during storage.
- Measure Ingredients Carefully: Weigh your flour, water, salt, and yeast.
- Mix Dry Ingredients: Combine the flour, salt, and yeast in a large mixing bowl.
- Add Water Gradually: Pour lukewarm water into the dry ingredients and mix with a dough whisk or wooden spoon.
- Incorporate Fully: Stir until no dry spots remain, creating a shaggy dough.
Tip: If using whole wheat flour, consider increasing the water slightly, as it absorbs more moisture than all-purpose flour.
Kneading Techniques (Traditional and No-Knead Methods)
There are two primary approaches when making dutch oven bread:
- Traditional Kneading:
- Turn the dough onto a floured surface and fold it repeatedly for 8-10 minutes.
- The dough should become smooth and elastic.
- No-Knead Method (Perfect for Beginners):
- Simply let the dough rest after mixing.
- Perform 2-3 sets of stretch and folds during the first rise to build gluten strength without full kneading.
First Rise: Time and Conditions
The first rise, also called bulk fermentation, allows the yeast to develop and ferment the dough.
- Time: Let the dough rise for 8-12 hours at room temperature (around 70°F/21°C).
- Conditions: Cover the bowl with plastic wrap or a damp towel to prevent drying.
- Goal: The dough should double in size and develop visible air bubbles.
Shaping the Loaf
Once your dough has risen, it’s time to shape it into a loaf. Proper shaping ensures even baking and a beautiful final appearance.
Degassing and Shaping Methods
- Degassing: Gently deflate the dough to release some gas while keeping air pockets for structure.
- Shaping:
- Place the dough on a lightly floured surface.
- Fold the edges toward the center, creating tension on the surface.
- Flip the dough seam-side down and gently round it into a boule or oval shape.
Importance of Surface Tension
Creating surface tension is crucial because it helps the bread hold its shape during baking. Without enough tension, the loaf may spread too much.
Using Proofing Baskets or Alternatives
For the final rise, place the shaped dough in a proofing basket (banneton) or an alternative like a bowl lined with a floured kitchen towel. This supports the dough as it proofs and adds a beautiful flour pattern when baked.
Final Proofing
The second rise ensures the dough reaches its final volume before baking.
Optimal Proofing Times and Temperatures
- Time: 1-2 hours at room temperature.
- Temperature: Ideally 70°F-75°F (21°C-24°C).
- Test for Readiness: Gently press the dough with your fingertip. If the indentation springs back slowly, the dough is ready to bake.
Identifying When the Dough Is Ready
- Under-proofed dough feels dense and springs back too quickly.
- Over-proofed dough may collapse during baking.
- Properly proofed dough holds its shape with slight resistance when poked.
Baking Process
Time to transform your dough into a stunning artisan loaf!
Preheating the Dutch Oven
- Place the Dutch oven with the lid on inside your oven.
- Preheat to 450°F (232°C) for at least 30 minutes.
Preheating ensures maximum heat retention for a crispy crust.
Transferring Dough into the Dutch Oven
- Carefully invert the proofed dough onto a piece of parchment paper.
- Score the top with a sharp blade or bread lame to control the expansion during baking.
- Using the parchment paper as a sling, lower the dough gently into the hot Dutch oven.
Baking Times and Temperature Adjustments
- Initial Bake: Bake with the lid on for 20-25 minutes.
- Final Bake: Remove the lid and continue baking for another 10-15 minutes to deepen the crust color.
Lid-On and Lid-Off Baking Stages
- Lid-On: Traps steam for maximum oven spring and a thin, crispy crust.
- Lid-Off: Allows moisture to escape, hardening the crust for a golden-brown finish.
Cooling and Storage
Proper cooling and storage keep your bread fresh and flavorful.
Proper Cooling Techniques
- Let the bread cool on a wire rack for at least 1 hour before slicing.
- Cooling allows the crumb to set and prevents gumminess inside.
Best Practices for Storing Homemade Bread
- Short-Term: Store at room temperature in a paper bag for up to 3 days.
- Long-Term: Wrap tightly and freeze for up to 3 months.
- Avoid Plastic Bags: Plastic traps moisture, softening the crust.
Popular Dutch Oven Bread Variations

Once you’ve mastered basic dutch oven bread recipes, exploring variations can be incredibly rewarding. Whether you’re craving a healthier loaf, a tangy sourdough, or a flavorful herb and cheese bread, the Dutch oven is perfect for creating diverse and delicious results.
Classic Artisan Bread
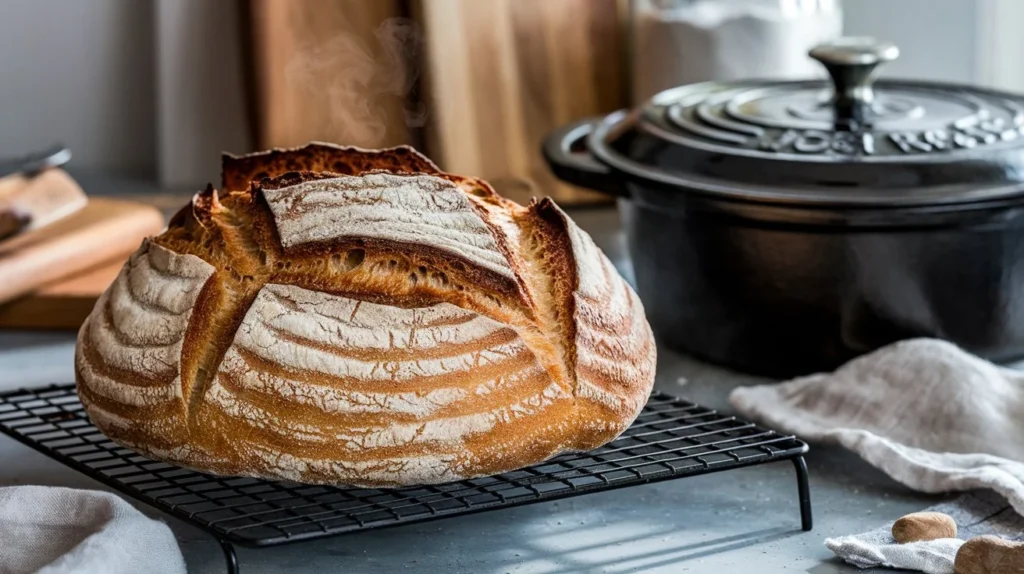
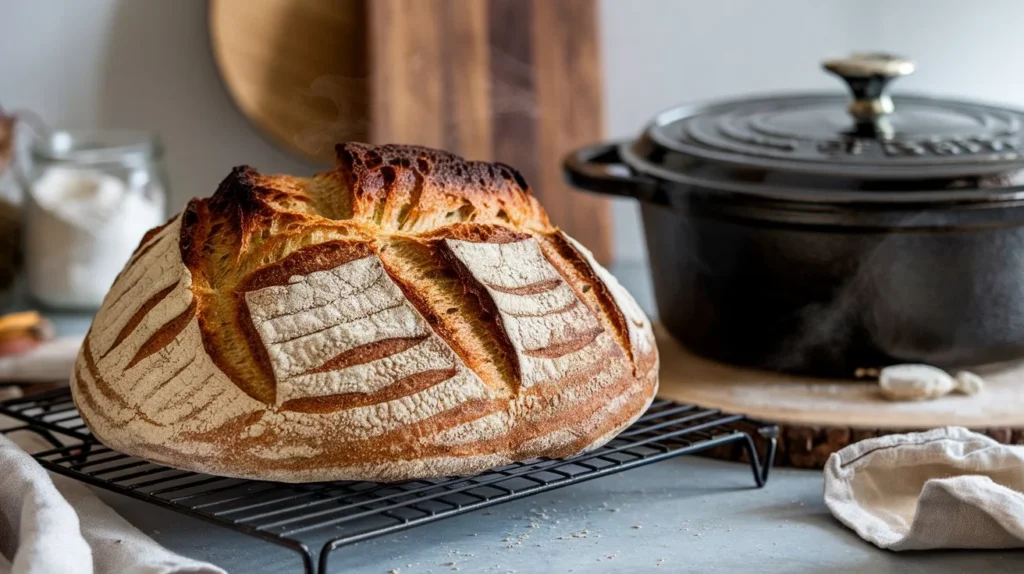
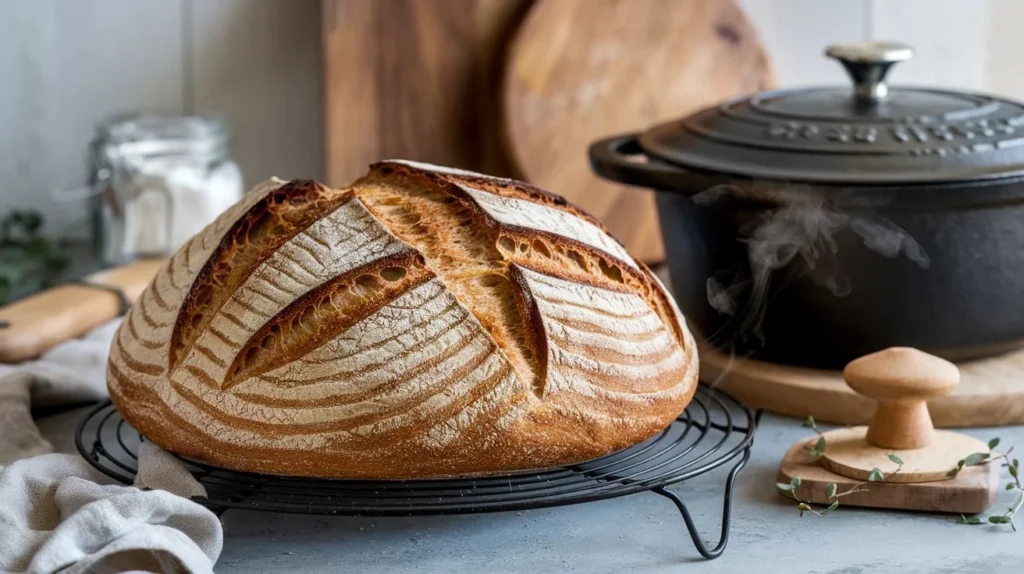
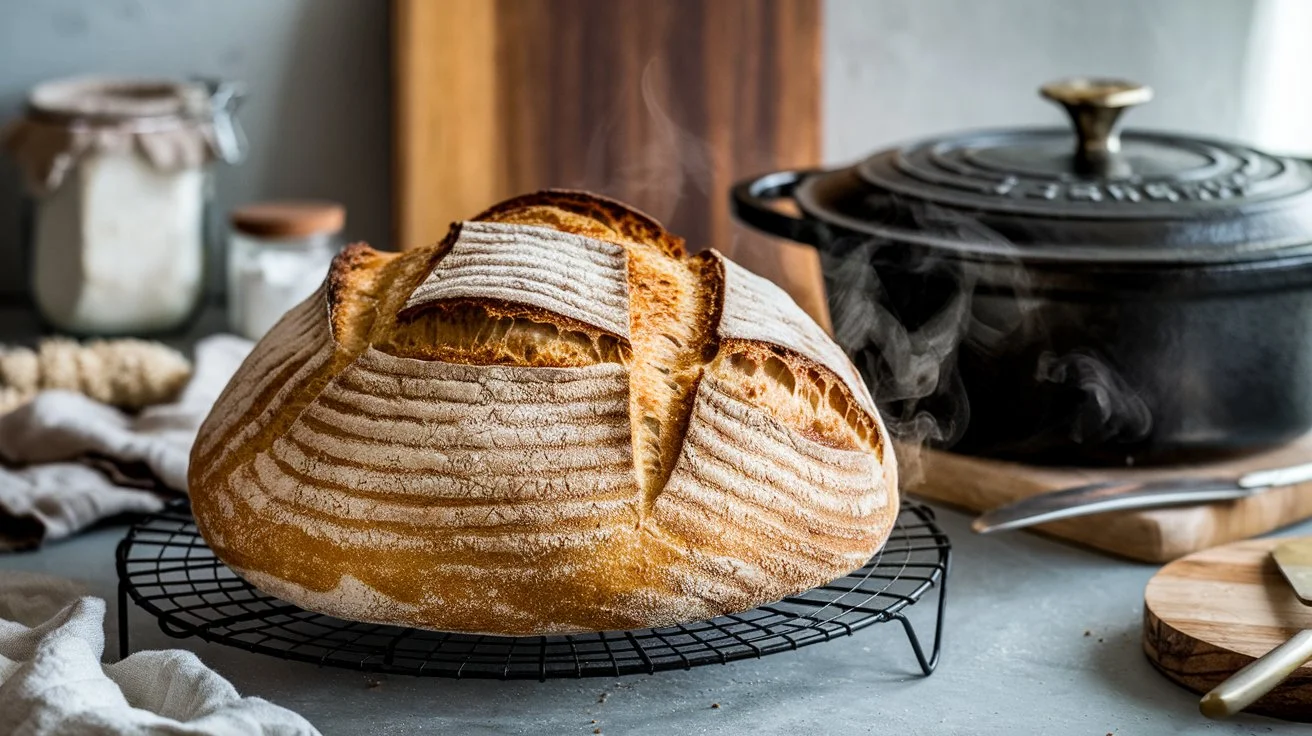
The quintessential Dutch oven artisan bread is simple yet sophisticated, known for its crisp crust and soft, airy crumb.
Characteristics and Flavor Profile
- Crust: Deep golden brown, thin, and crackly.
- Crumb: Light, open, and airy with irregular holes.
- Flavor: Mild yet slightly nutty with a touch of yeastiness.
This style pairs perfectly with soups, stews, or a spread of butter and jam.
Recipe Overview
To make a classic artisan loaf:
- Ingredients: Bread flour, salt, yeast, water.
- Method: Mix, no-knead ferment overnight, shape, proof, and bake in a preheated Dutch oven.
- Key Tip: High hydration (around 75%) creates a softer crumb and better oven spring.
This basic formula is perfect for beginners and a foundation for other variations.
Whole Wheat Dutch Oven Bread
Switching to whole wheat flour boosts the nutrition profile while adding a deeper, earthier flavor.
Health Benefits
- Higher in fiber and essential nutrients.
- Promotes better digestion and longer satiety.
- More complex flavor than white flour.
Adjustments in Ingredients and Technique
- Flour Mix: Blend 50% whole wheat with 50% bread flour for better gluten development.
- Hydration: Increase water slightly as whole wheat absorbs more moisture.
- Fermentation: Extend bulk fermentation slightly to ensure proper rise.
Pro Tip: Adding a touch of honey or maple syrup balances the earthy tones of whole wheat bread beautifully.
Sourdough Bread
Sourdough is a favorite for bread enthusiasts, offering a tangy complexity and a unique baking challenge.
Introduction to Sourdough Starters
A sourdough starter is a natural ferment made from just flour and water, cultivated over several days until it captures wild yeast.
- Feeding: Daily feeding keeps the starter active.
- Mature Starter: Bubbly and slightly tangy with a pleasant sour aroma.
Unique Aspects of Sourdough Baking
- No commercial yeast needed.
- Fermentation takes longer, enhancing digestibility and flavor.
- Slightly chewier crust with a complex tang.
Sourdough dutch oven bread recipes rely heavily on proper fermentation and proofing, making patience essential.
Herb and Cheese Infused Breads
For a twist on classic bread, infusing herbs and cheese can create stunning results.
Popular Herb and Cheese Combinations
- Herbs: Rosemary, thyme, basil, oregano.
- Cheeses: Sharp cheddar, Parmesan, Gruyère, feta.
- Spice Additions: Cracked black pepper, garlic powder, smoked paprika.
Tips for Incorporating Additional Ingredients
- Fold herbs and cheese during the final stretch-and-fold phase to avoid overmixing.
- Use dry herbs for stronger, concentrated flavor.
- Avoid overloading with cheese, as it can affect the crumb structure.
FAQs Section
1. Why use a Dutch oven for baking bread?
A Dutch oven traps steam, ensuring a crispy crust and evenly baked loaf, similar to professional bread ovens.
2. Can I use whole wheat flour in all Dutch oven bread recipes?
Yes, but you may need to adjust hydration levels since whole wheat flour absorbs more water.
3. Do I need to preheat the Dutch oven before baking?
Yes, preheating creates the necessary steam environment for a crisp crust and good oven spring.
4. How do I know when my bread is fully baked?
A fully baked loaf sounds hollow when tapped on the bottom and registers around 200°F (93°C) internally.
5. Why is my Dutch oven bread dense?
This could result from underproofing, insufficient hydration, or not enough gluten development during kneading.
6. Can I bake gluten-free bread in a Dutch oven?
Yes, but gluten-free bread requires specialized flour blends and different hydration levels.
Conclusion
Baking with a Dutch oven transforms basic ingredients into bakery-quality loaves with a crisp crust and tender crumb. From the foundational artisan bread to nutrient-packed whole wheat and tangy sourdough, the possibilities are endless. Experimenting with herbs, cheeses, and various flours allows you to customize each bake to suit your taste.
Final Tips for Success:
- Patience and practice make perfect—bread baking is an art that improves with time.
- Don’t fear mistakes; they’re part of the learning process.
- Embrace the joy of homemade bread, whether it’s a rustic sourdough or a soft, cheesy loaf.


