How to Make the Ultimate Butterfinger Cake: A Decadent Treat
Butterfinger Cake is a heavenly dessert that combines the irresistible crunch of Butterfinger candy bars with the creamy richness of a layered cake. This dessert has become a favorite for its unique texture, decadent flavors, and versatility. Whether you’re preparing for a family gathering, a potluck, or simply craving a sweet treat, this guide will show you how to create the ultimate Butterfinger Cake step by step. Let’s dive into the first part of this delightful recipe adventure!
Introduction to Butterfinger Cake
What Is Butterfinger Cake?
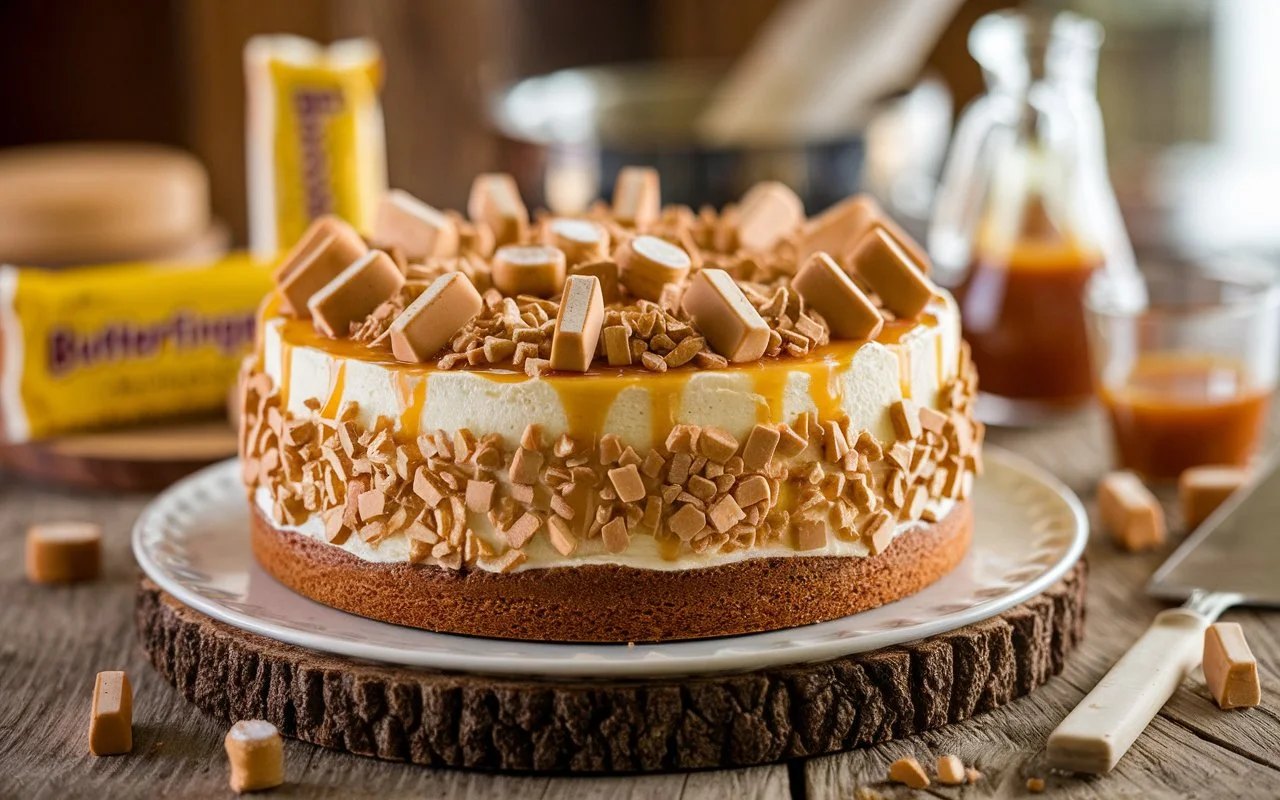
Butterfinger Cake is a delightful dessert that combines a moist cake base with layers of crushed Butterfinger candy, caramel or butterscotch topping, and creamy whipped topping. This dessert is a blend of contrasting textures—soft, crunchy, and velvety smooth—that makes every bite an experience.
Why Is Butterfinger Cake So Popular?
This cake stands out for its rich, indulgent flavor and ease of preparation. Unlike complicated layered cakes, Butterfinger Cake requires only a handful of simple ingredients, making it accessible to beginners and experienced bakers alike. Plus, it’s versatile enough to be customized with creative toppings and alternative ingredients to suit any preference.
Perfect for Every Occasion
Whether it’s a birthday party, a family reunion, or a casual dessert after dinner, Butterfinger Cake fits the bill. Its unique flavor and stunning presentation make it a show-stopper on any dessert table. Even if you’re not a fan of traditional candy bars, the blend of caramel and whipped topping ensures a balanced taste that appeals to nearly everyone.
Let’s Get Baking!
Now that you know what makes Butterfinger Cake special, it’s time to gather your ingredients and tools. Don’t worry if you’re new to baking—this guide will break down every step to make it as easy as pie (or should we say cake?). Ready? Let’s start with the essentials!
Ingredients and Equipment
Creating a mouthwatering Butterfinger Cake starts with having the right ingredients and tools at your disposal. This part will guide you through the essentials, including must-have items and optional extras for customization.
Essential Ingredients for Butterfinger Cake
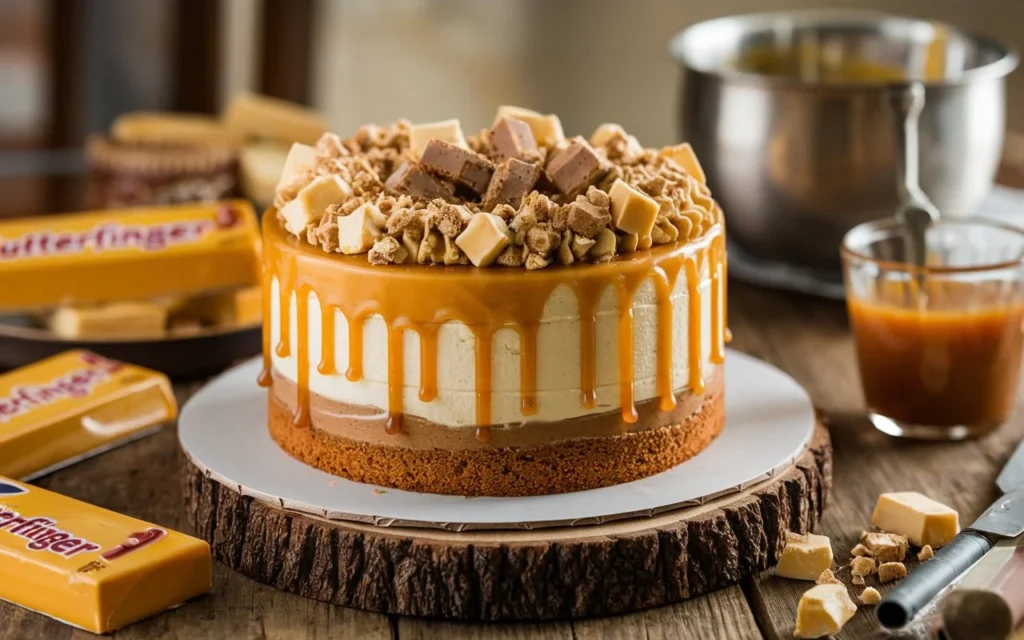
To achieve that classic Butterfinger Cake flavor and texture, gather these staple ingredients:
- Cake Mix (Chocolate or Yellow):
The base of your cake can be chocolate for a richer taste or yellow for a lighter flavor. Either option works beautifully and provides a moist, fluffy foundation. - Sweetened Condensed Milk:
This ingredient infuses the cake with an irresistibly creamy sweetness. It also helps keep the cake moist. - Caramel or Butterscotch Topping:
A drizzle of caramel or butterscotch topping elevates the cake’s flavor, adding a luscious layer of decadence. - Butterfinger Candy Bars (Crushed):
The star ingredient! Crushed Butterfinger bars bring crunchiness and that unmistakable peanut-buttery flavor. Be sure to crush them finely for an even spread across the cake. - Whipped Topping or Frosting:
Whether you use store-bought whipped topping or homemade frosting, this creamy layer ties all the components together.
Optional Add-Ons and Variations
For those who love to experiment, here are some extras that can take your Butterfinger Cake to the next level:
- Chocolate Chips: Sprinkle these over the whipped topping for a double dose of chocolatey goodness.
- Peanut Butter Drizzle: Enhance the peanut butter flavor with a light drizzle of melted peanut butter on top.
- Cream Cheese Frosting: Swap out whipped topping for cream cheese frosting for a tangy twist.
- Gluten-Free Alternatives: Use a gluten-free cake mix to make this dessert suitable for those with dietary restrictions.
- Vegan Substitutions: Choose plant-based condensed milk, caramel sauce, and dairy-free whipped topping to create a vegan version.
Necessary Equipment
To ensure a smooth baking process, have these tools ready before you begin:
- Baking Pan: A 9×13-inch pan works best for this recipe, providing ample space for the cake to bake evenly.
- Mixing Bowls: Use separate bowls for mixing the cake batter and preparing the toppings.
- Whisk and Spatula: A whisk ensures a lump-free batter, while a spatula helps you spread and layer the ingredients evenly.
- Measuring Cups and Spoons: Precision is key to nailing the perfect flavor and texture.
- Crushing Tool: A rolling pin or food processor works wonders for crushing Butterfinger bars into fine pieces.
By ensuring you have these ingredients and tools on hand, you’re setting yourself up for success. Once everything is prepped, you’re ready to dive into the baking process and bring this decadent dessert to life!
Step-by-Step Recipe for Butterfinger Cake
Creating the perfect Butterfinger Cake requires a balance of careful preparation and creativity. Follow these detailed steps to craft a dessert that’s as visually stunning as it is delicious.
Preparing the Cake Base for Butterfinger Cake
1. Choosing the Right Cake Mix:
The base of the Butterfinger Cake sets the stage for its indulgent flavors. If you prefer a rich, chocolatey flavor, choose a chocolate cake mix. For a lighter, buttery profile, go with a yellow cake mix. Both options create a foundation that pairs beautifully with the caramel and candy topping.
2. Preparing the Cake Batter:
- Preheat your oven to the temperature specified on the cake mix package. Proper preheating ensures even baking.
- In a mixing bowl, combine the cake mix with its required ingredients—usually eggs, oil, and water. Whisk the mixture until smooth and free of lumps.
- Pour the batter into a greased 9×13-inch baking pan, spreading it evenly to avoid uneven baking.
3. Baking the Cake:
- Bake according to package instructions, typically 28–35 minutes. Keep an eye on the cake in the final minutes to avoid overbaking.
- Test for doneness by inserting a toothpick into the center. If it comes out clean, the cake is ready. Allow it to cool completely before moving on to the next steps.
Enhancing the Flavor of Butterfinger Cake
1. Adding Sweetened Condensed Milk and Caramel Topping:
- Once the cake has cooled, use the handle of a wooden spoon or a skewer to poke holes across the surface. These holes allow the flavoring liquids to infuse the cake.
- Slowly pour a full can of sweetened condensed milk over the cake, ensuring it seeps into the holes. Follow with a generous drizzle of caramel topping, spreading it evenly with a spatula.
2. Letting the Cake Absorb the Flavors:
- Allow the cake to sit for 10–15 minutes after adding the toppings. This gives the condensed milk and caramel time to soak into the cake, creating a moist and flavorful texture that defines Butterfinger Cake.
Assembling the Toppings for Butterfinger Cake
1. Crushing the Butterfinger Candy Bars:
The star ingredient of Butterfinger Cake is, of course, the Butterfinger candy bars. Use 4–5 bars for a generous topping. Place the candy bars in a resealable bag and crush them using a rolling pin, or pulse them in a food processor. Aim for a mix of fine crumbs and small chunks for texture.
2. Spreading the Whipped Topping:
- Spread a thick, even layer of whipped topping over the cake’s surface. This creamy layer balances the sweetness of the caramel and candy. If desired, you can use cream cheese frosting for a tangy twist.
3. Adding the Butterfinger Pieces:
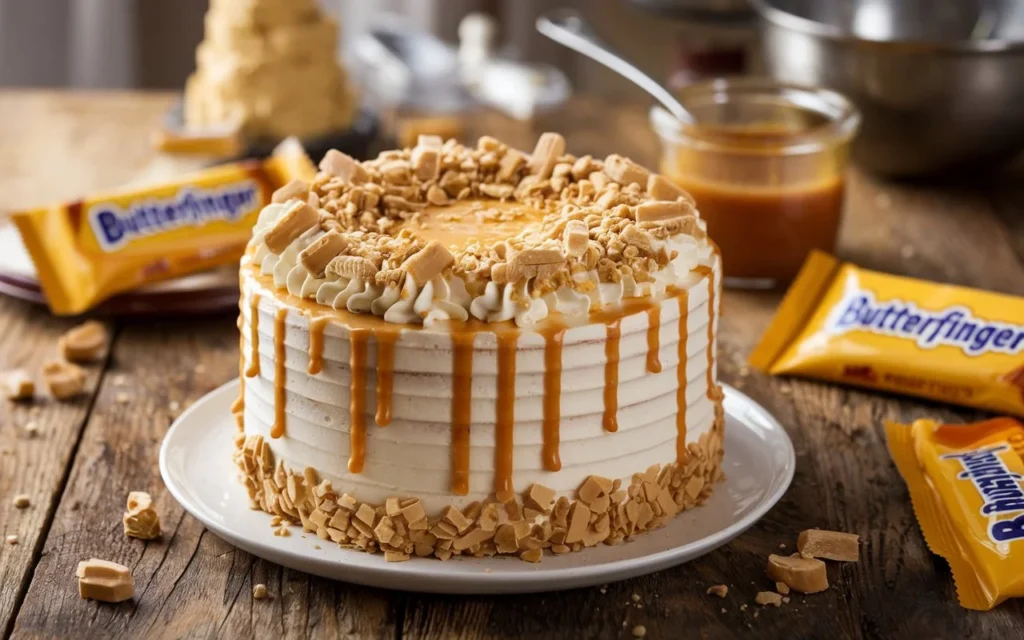
- Sprinkle the crushed Butterfinger candy bars evenly over the whipped topping. Press down gently to help them adhere. Save a few larger pieces for decoration, creating a visually appealing texture.
Optional Decorations for Butterfinger Cake
1. Creative Garnishing Ideas:
Elevate the presentation of your Butterfinger Cake with decorative touches:
- Use a piping bag to add swirls of whipped topping or frosting along the edges.
- Arrange larger chunks of Butterfinger candy in patterns or create layers for added flair.
2. Drizzling Chocolate or Caramel:
- Melt chocolate chips or additional caramel sauce in the microwave. Drizzle it over the cake in a zigzag pattern for a polished, professional look.
3. Double-Layered Toppings:
- For an extra-indulgent version of Butterfinger Cake, repeat the whipped topping and candy layers. This adds richness and makes the cake even more visually stunning.
By following these steps, you’ll create a Butterfinger Cake that’s not only delicious but also a visual masterpiece. Each layer—from the moist cake base to the crunchy candy topping—is designed to delight your taste buds. Enjoy baking and sharing this ultimate treat!
Serving and Storage Tips
The joy of a well-made Butterfinger Cake doesn’t end with baking. How you serve, store, and revive the dessert can enhance its flavors and ensure every bite is as satisfying as the first.
Serving Suggestions
1. Best Occasions to Serve Butterfinger Cake:
This decadent cake is perfect for nearly any event, from casual family dinners to festive celebrations. Serve it at:
- Birthdays for a fun twist on traditional cakes.
- Potlucks where its crowd-pleasing flavors shine.
- Holidays like Thanksgiving or Christmas as a standout dessert option.
2. Pairing Options:
Elevate the experience of eating Butterfinger Cake by pairing it with complementary flavors and beverages:
- Ice Cream: A scoop of vanilla or chocolate ice cream perfectly complements the cake’s crunch and sweetness.
- Coffee or Milk: The rich flavors pair beautifully with a warm cup of coffee or a cold glass of milk.
- Fresh Fruit: Serve slices with strawberries or raspberries for a refreshing contrast.
Storage Instructions
1. Proper Ways to Store Butterfinger Cake:
- Cover the cake tightly with plastic wrap or store it in an airtight container to prevent it from drying out.
- Keep it refrigerated, as the whipped topping and caramel layers require a cool environment. The cake will stay fresh for up to 3–4 days in the fridge.
2. Tips for Freezing Leftovers:
- If you have leftovers, you can freeze them for up to 3 months. Wrap individual slices in plastic wrap and place them in a freezer-safe container to preserve their texture.
- When ready to eat, thaw the slices in the refrigerator overnight to maintain their consistency.
Reheating and Refreshing
Butterfinger Cake is best enjoyed cold, but you can refresh it to make it taste like new:
- If the whipped topping has softened or the candy pieces have lost their crunch, sprinkle some freshly crushed Butterfinger candy on top before serving.
- Add an extra drizzle of caramel or chocolate sauce to revive the flavors and moisture.
FAQs Based on People Also Ask Section
1. What Does Butterfinger Cake Taste Like?
Butterfinger Cake offers a unique combination of flavors and textures. It’s moist and rich, with the creamy sweetness of caramel and condensed milk, balanced by the crunchy, nutty flavor of Butterfinger candy bars.
2. Can I Make Butterfinger Cake Without Condensed Milk?
Yes, you can substitute condensed milk with alternatives like evaporated milk combined with sugar or a homemade sweet milk mixture. While the texture may vary slightly, it will still taste delicious.
3. How Long Does Butterfinger Cake Stay Fresh?
When stored properly in the refrigerator, Butterfinger Cake remains fresh for up to 3–4 days. For longer storage, freezing is an excellent option.
4. What Can I Substitute for Butterfinger Candy Bars?
If you can’t find Butterfinger bars, try using toffee candy like Heath bars or peanut butter cups. These substitutes offer a similar crunch and flavor profile.
5. Is There a Gluten-Free Version of Butterfinger Cake?
Absolutely! Use a gluten-free cake mix and ensure that your other ingredients, like caramel topping and candy bars, are certified gluten-free.
6. Can I Use Homemade Caramel Sauce Instead of Store-Bought?
Yes, homemade caramel sauce is a great option and often tastes fresher. Use equal amounts, and make sure the sauce is thick enough to coat the cake evenly.
7. How Can I Make Butterfinger Cake Ahead of Time for an Event?
Prepare the cake and layer it with condensed milk and caramel topping a day in advance. Add the whipped topping and crushed candy bars just before serving to maintain their freshness and crunch.
Conclusion
Why Butterfinger Cake is a Must-Try Dessert
Butterfinger Cake isn’t just a dessert—it’s an experience. Its combination of rich flavors, moist texture, and crunchy topping makes it a standout treat for any occasion. Plus, the recipe is simple enough for beginners yet impressive enough for experienced bakers.
Encourage Readers to Experiment
The beauty of Butterfinger Cake lies in its versatility. Feel free to experiment with different toppings, substitute ingredients, or add your creative flair to the recipe. Whether you stick to the classic version or put your spin on it, this cake is guaranteed to delight.

