How to Make Granola at Home: A Step-by-Step Guide for Beginners
Granola is a delicious, crunchy, and versatile breakfast food enjoyed by many around the world. But did you know that making granola at home can be healthier, more affordable, and completely customizable? This guide will show you how to make granola from scratch, explore ingredient options, and share expert tips for achieving perfect texture and taste. Whether you’re looking for a gluten-free, vegan, or nut-free option, this article has you covered.
Let’s dive into the essentials of crafting homemade Cereal mix, starting with why you should consider making it yourself.
Introduction to Homemade Granola
Homemade granola isn’t just a breakfast staple; it’s a game-changer in your kitchen! Making granola from scratch means you have full control over the ingredients, ensuring a healthier, preservative-free option compared to many store-bought varieties. Plus, you can customize it to match your dietary preferences—whether you want a low-sugar granola or a protein-packed version with nuts and seeds.
What is Granola?
Granola is a baked mixture typically made with:
- Oats – the base ingredient for most Cereal mix recipes.
- Nuts and seeds – for crunch and nutrition.
- Sweeteners – like honey or maple syrup for a natural touch of sweetness.
- Fats – such as coconut oil to achieve crispiness.
- Dried fruits – like raisins or cranberries for added sweetness.
- Spices and flavorings – cinnamon, vanilla, or cocoa powder for extra flair.
When baked to perfection, these ingredients form a crunchy, flavorful blend that can be enjoyed in various ways.
Why Make Granola at Home?
You might wonder, Why bother making Cereal mix when you can buy it off the shelf? Here’s why:
- Healthier Ingredients: Store-bought granola often contains artificial preservatives, excess sugar, and unhealthy fats.
- Full Customization: You can tweak the sweetness, texture, and flavors to suit your taste.
- Cost-Effective: Buying ingredients in bulk can save you money in the long run.
- Dietary Control: Perfect for gluten-free, vegan, or nut-free diets.
Ways to Enjoy Homemade Granola
Homemade granola is incredibly versatile. You can:
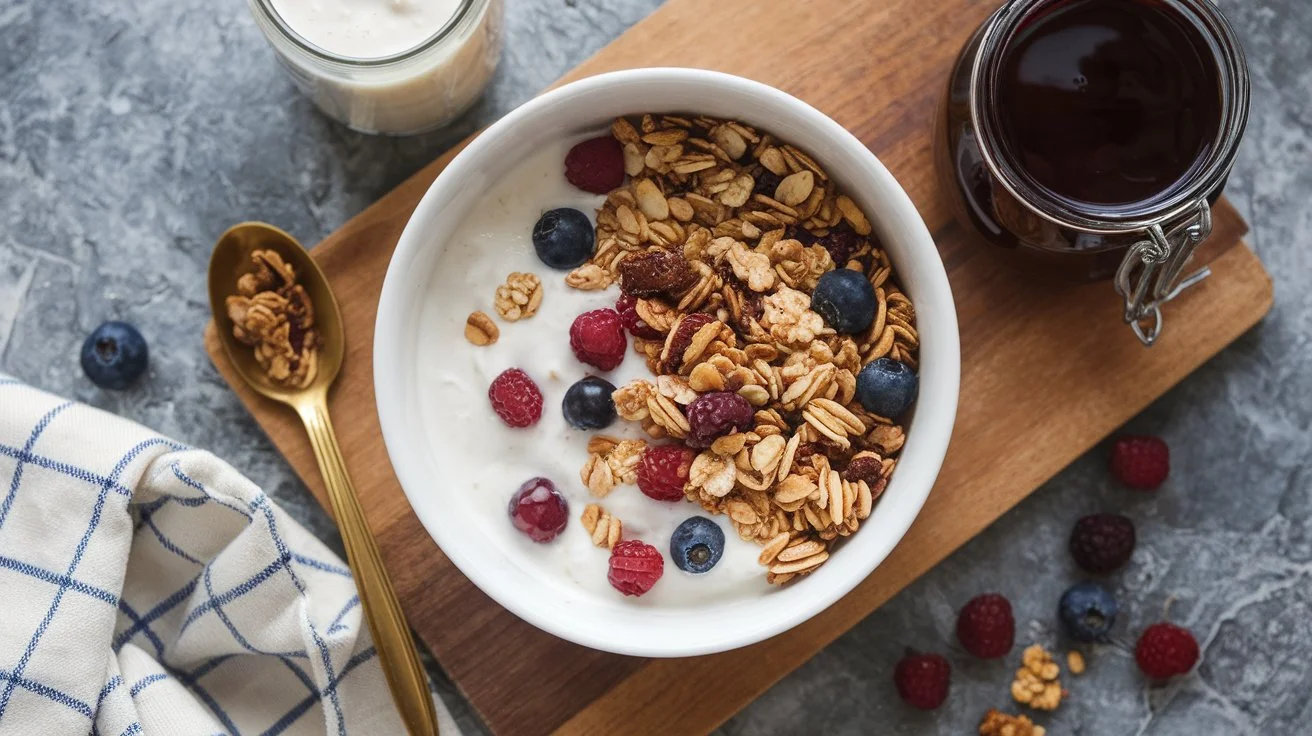
- Sprinkle it over Greek yogurt with fresh berries for a nutritious breakfast.
- Use it as a topping for smoothie bowls.
- Munch it as a healthy snack.
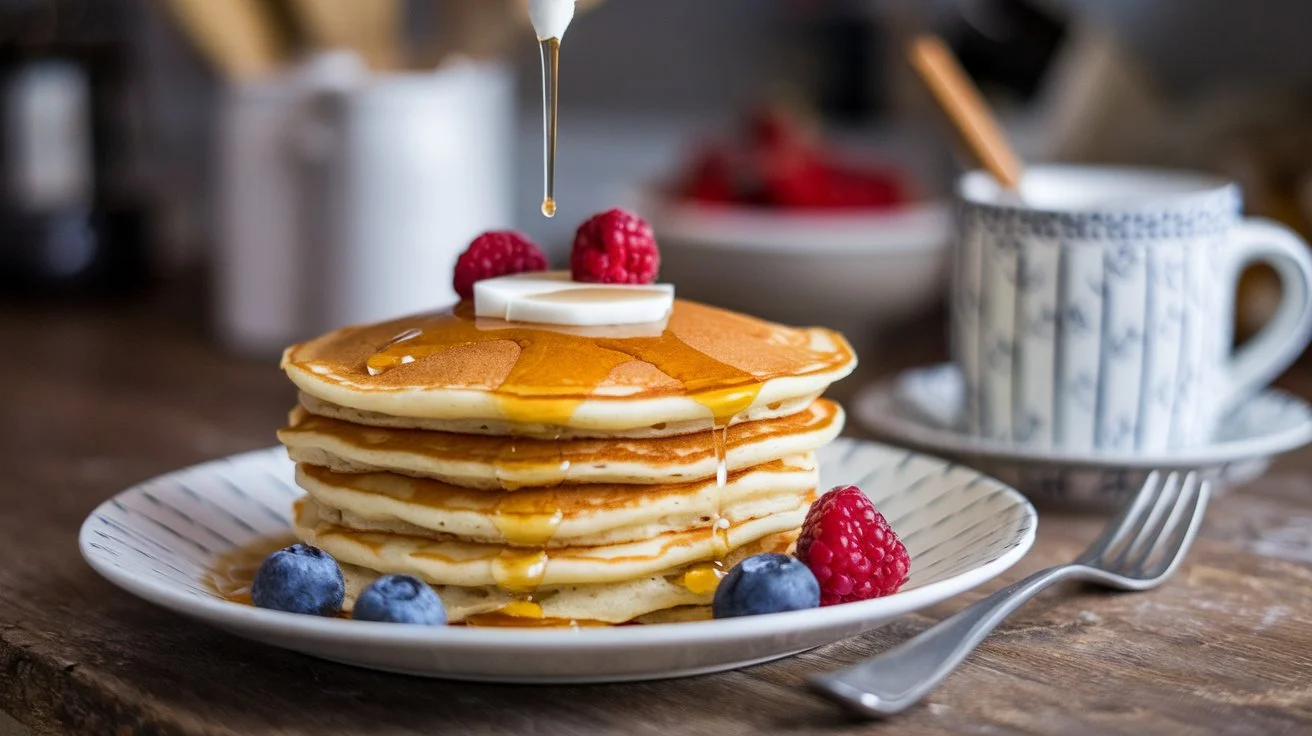
- Mix it into pancake or muffin batter for extra crunch.
Next, we’ll explore why making your own granola is a smart choice for your health and wallet!
Benefits of Making Granola at Home
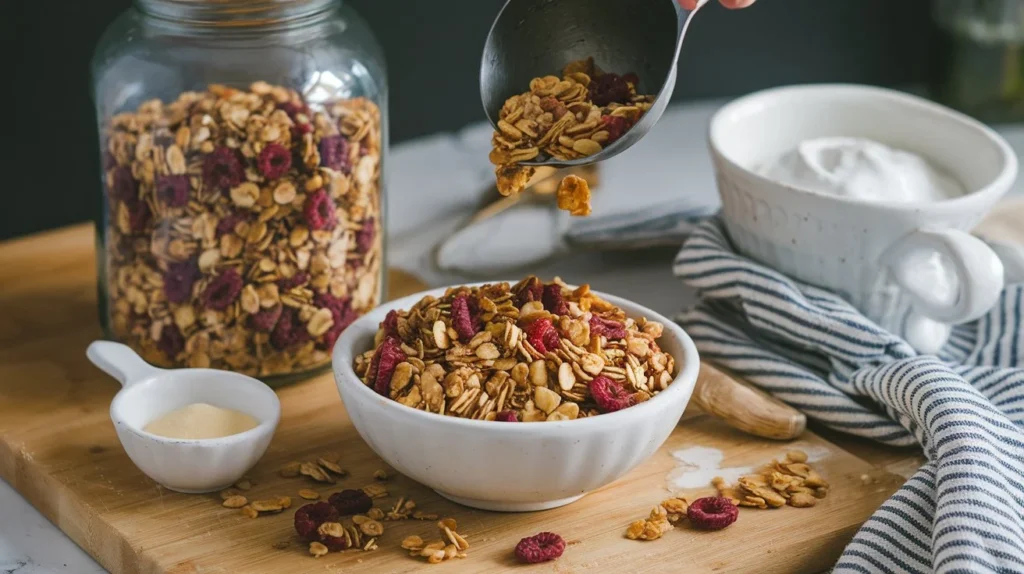
Making granola at home offers far more than just a fun kitchen activity—it’s a way to ensure better quality, save money, and cater to personal preferences. Let’s explore the top advantages of homemade Cereal mix and why it’s worth the effort.
Control Over Ingredients
One of the biggest perks of making granola from scratch is complete control over the ingredients. Store-bought options often contain refined sugars, artificial preservatives, and unhealthy fats. When you prepare your own, you can:
- Opt for organic rolled oats and natural sweeteners like honey or maple syrup.
- Choose unrefined oils such as coconut oil or olive oil instead of hydrogenated fats.
- Avoid artificial additives, colors, and preservatives altogether.
This control means you can create a healthier version packed with real, whole foods.
Customization
The beauty of DIY granola lies in its flexibility. You can adjust every aspect to match your preferences:
- Sweetness Level: Want a low-sugar option? Reduce the honey or use a sugar alternative like monk fruit sweetener.
- Flavor Variety: Play with spices like cinnamon, nutmeg, or even pumpkin spice.
- Texture Choices: Prefer chewy Cereal mix? Add dried fruits like raisins or chopped dates. Want it extra crunchy? Use more nuts and bake slightly longer.
This versatility allows you to craft a blend tailored perfectly for you and your family.
Cost-Effective
Granola can be surprisingly expensive at the store, especially premium brands that market themselves as healthy. However, making it at home can be more economical because:
- Bulk Buying: Purchase ingredients like oats, almonds, and chia seeds in bulk to reduce costs.
- No Brand Premiums: Skip the added expense of brand-name products.
- Long Shelf Life: When stored properly, homemade granola lasts weeks without spoilage.
By making granola in larger batches, you can save money while still enjoying a premium-quality snack.
Dietary Accommodations
Homemade Cereal mix is ideal for those with dietary restrictions since you can control every ingredient. Whether you’re gluten-free, vegan, or nut-free, you can make adjustments such as:
- Gluten-Free: Use certified gluten-free oats.
- Vegan: Swap honey for maple syrup and avoid animal-derived fats.
- Nut-Free: Use seeds like pumpkin and sunflower instead of nuts.
By customizing your Cereal mix, you ensure it meets your health needs without sacrificing flavor.
Next, we’ll break down the essential ingredients you’ll need to create the perfect homemade granola.
Essential Ingredients for Homemade Granola
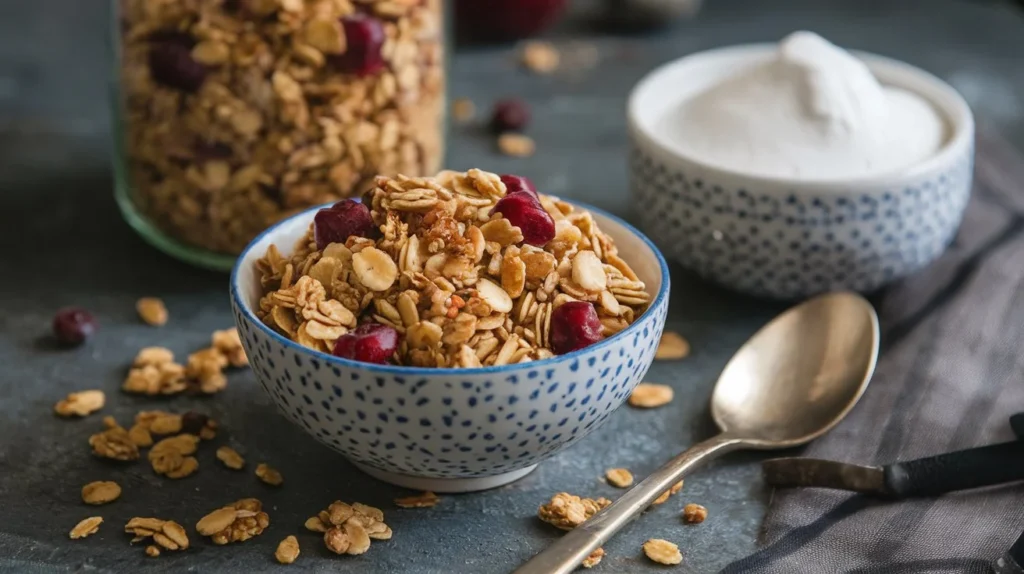
Creating homemade granola begins with understanding the key ingredients that form its base. The beauty of this recipe lies in its flexibility—each component can be tailored to your taste preferences. Let’s explore the essential ingredients you’ll need and how they contribute to the perfect batch of granola.
Oats: The Foundation of Granola
Oats are the heart of every granola recipe, providing structure and a hearty texture. The two most common types used are:
- Old-Fashioned Rolled Oats: Best for a classic chewy Cereal mix with a solid structure.
- Quick Oats: Yield a finer, more crumbly texture as they break down easily during baking.
Steel-cut oats are generally avoided because they don’t toast well and can remain too hard. Always choose whole grain, minimally processed oats for the healthiest option.
Sweeteners: Natural Binding Agents
Sweeteners in Cereal mix not only add a touch of sweetness but also help the mixture clump together for those satisfying clusters. Opt for natural options like:
- Honey: Adds a rich, floral sweetness and binds ingredients effectively.
- Maple Syrup: A vegan-friendly choice with a deep, caramel-like flavor.
- Agave Nectar: Great for a mild, less overpowering sweetness.
Using liquid sweeteners helps the dry ingredients stick together better, creating those signature crunchy clusters. If you prefer a lower-sugar granola, you can reduce the quantity slightly or use alternatives like monk fruit sweetener.
Fats: The Key to Crispiness
In granola, fats play a crucial role in achieving the perfect crispy texture. The right choice of fat can elevate both the mouthfeel and the flavor. Popular options include:
- Coconut Oil: Adds a subtle tropical flavor while keeping the granola light.
- Olive Oil: A healthier option with a slightly savory touch.
- Melted Butter: Provides a richer, more indulgent taste.
Fats also help coat the oats evenly, ensuring balanced toasting during baking.
Nuts and Seeds: Crunch and Nutrition
Nuts and seeds bring both crunch and nutritional benefits to homemade granola. They’re packed with healthy fats, protein, and essential vitamins. Some excellent choices include:
- Almonds: Sliced, slivered, or whole for a crunchy bite.
- Walnuts: Rich and slightly bitter, balancing sweet flavors.
- Pecans: Buttery and mild, great for fall-inspired Cereal mix.
- Sunflower Seeds: Nut-free and packed with magnesium.
- Chia & Flax Seeds: Add a boost of fiber and omega-3s.
Feel free to mix and match for diverse textures and nutrients. Lightly toasting nuts before baking can deepen their flavor.
Dried Fruits: Sweetness and Chewiness
Adding dried fruits introduces natural sweetness and a delightful chewiness that contrasts with the crunch of the granola. Ideal options include:
- Raisins: Classic and budget-friendly.
- Cranberries: Tart and vibrant.
- Apricots: Sweet with a slight tang.
- Dates: Rich, caramel-like sweetness.
Pro Tip: Always add dried fruits after baking to prevent burning.
Spices and Flavorings: Elevating the Taste
Spices and extracts can transform a basic Cereal mix into a gourmet delight. Common choices include:
- Cinnamon: Warm and comforting.
- Nutmeg: Slightly earthy, pairing well with fall flavors.
- Vanilla Extract: Adds a subtle sweetness and depth.
- Cocoa Powder: Perfect for a chocolate Cereal mix twist.
Experimenting with different spices can help you create unique granola blends. For instance, a pumpkin spice mix works beautifully for autumn-inspired recipes.
With these essential ingredients in hand, you’re ready to move on to the exciting process of making your homemade Cereal mix. Up next, we’ll cover a detailed step-by-step guide to ensure perfect results every time!
Step-by-Step Guide to Making Granola
Making granola at home is easier than you might think! Follow this step-by-step guide to create the perfect batch—crunchy, flavorful, and packed with wholesome goodness.
Preheat the Oven
Start by preheating your oven to 300°F (150°C). A lower temperature ensures the oats and nuts toast evenly without burning. Consistent heat also helps the granola crisp up perfectly.
Mix Dry Ingredients
In a large mixing bowl, combine your oats, nuts, seeds, and spices. Stir everything together to ensure even distribution.
- Base: Use about 3 cups of rolled oats.
- Nuts & Seeds: Add 1 cup of mixed nuts and seeds like almonds, pecans, and pumpkin seeds.
- Spices: Sprinkle in 1 teaspoon of cinnamon and a pinch of nutmeg for warmth.
Pro Tip: If you want extra nutty flavor, lightly toast the nuts in a dry skillet before mixing them in.
Prepare the Wet Mixture
Next, prepare the wet ingredients, which will help bind the Cereal mix and add natural sweetness. In a saucepan over medium heat:
- Combine 1/2 cup of coconut oil and 1/2 cup of honey (or maple syrup for a vegan version).
- Stir gently until the oil melts and the mixture becomes smooth.
- Add 1 teaspoon of vanilla extract for extra depth of flavor.
Don’t let the mixture boil—just warm it enough to blend the ingredients together.
Combine Wet and Dry Ingredients
Pour the warm wet mixture over your dry ingredients in the bowl. Stir thoroughly with a spatula, making sure every oat and nut is evenly coated. The moisture helps bind the granola and encourages clumping.
If you love larger Cereal mix clusters, press the mixture together slightly before baking without breaking up the chunks.
Bake the Granola
Line a large baking sheet with parchment paper for easy cleanup. Spread the granola mixture evenly across the sheet in a thin layer.
- Bake for 20 minutes at 300°F.
- Stir gently halfway through to ensure even toasting.
- Bake for another 15-20 minutes until the granola is golden brown and fragrant.
Avoid over-baking! The granola will continue to crisp as it cools, so it’s okay if it feels slightly soft when removed from the oven.
Add Dried Fruits
After removing the Cereal mix from the oven, let it cool slightly for 5 minutes. Then, mix in your choice of dried fruits, such as:
- 1/2 cup raisins
- 1/2 cup cranberries
- 1/4 cup chopped dates
Adding fruits after baking prevents them from burning or becoming too hard.
Cool and Store
Allow the granola to cool completely on the baking sheet—this step is crucial for achieving that signature crunch. Once fully cooled:
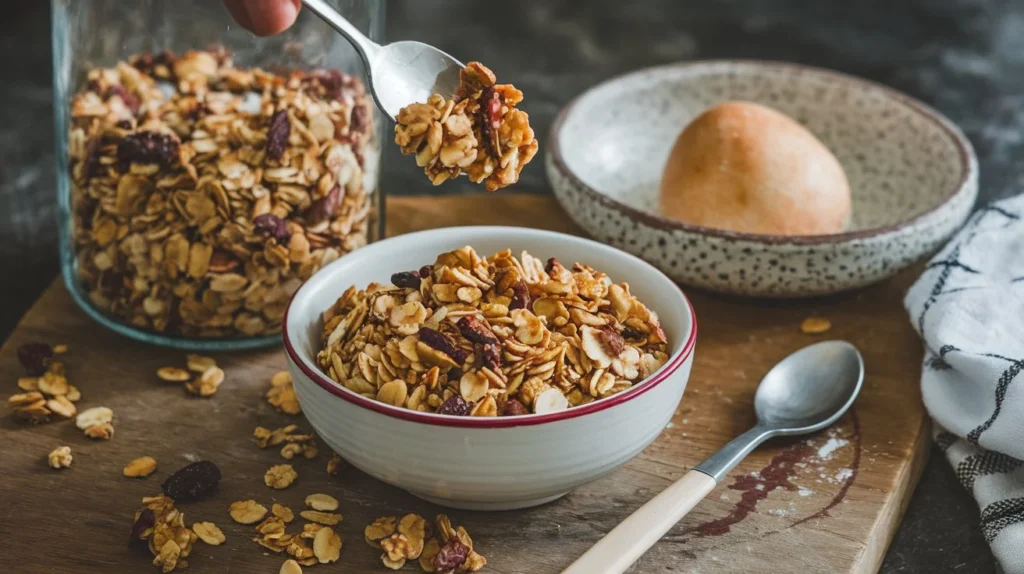
- Transfer the granola into an airtight container or mason jar.
- Store at room temperature for up to 3 weeks.
If you want long-term storage, keep it in the freezer for up to 3 months.
Frequently Asked Questions (FAQs)
1. How long does homemade granola last?
Homemade granola can last up to 3 weeks when stored in an airtight container at room temperature. For extended freshness, freeze it for up to 3 months.
2. Can I make granola without oil?
Yes! You can substitute oil with unsweetened applesauce or nut butter for a lower-fat version. However, keep in mind that oil helps achieve the classic crunchy texture.
3. How can I make my granola clump together more?
To create chunky granola clusters:
*Use a sticky sweetener like honey or maple syrup.
*Avoid over-stirring while baking.
*Press the mixture firmly on the baking sheet before baking.
4. What type of oats should I use for granola?
Old-fashioned rolled oats work best for granola as they provide a chewy texture and hold their shape during baking. Avoid quick oats as they can become too powdery.
5. Can I make granola gluten-free?
Absolutely! Use certified gluten-free oats and ensure all mix-ins are gluten-free.
6. Why is my granola not crunchy?
If your granola turns out soft:
*Ensure you’re baking at a low temperature (around 300°F).
*Let it cool completely before storing.
*Avoid overcrowding the baking sheet, as proper airflow helps it crisp up.
Conclusion
Making granola at home is not only rewarding but also a healthier alternative to store-bought options. With the ability to control ingredients, customize flavors, and accommodate dietary needs, homemade granola becomes a versatile staple in your kitchen. By following this step-by-step guide, you can enjoy a crunchy, nutritious, and delicious batch of granola tailored to your taste.
So, why wait? Gather your ingredients and start creating your very own homemade granola masterpiece today!

